Wordpress - Agent Roster
Agent Profiles will import automatically from the OMS. However, you can edit and customize Agent Profile directly from the WordPress Platform as follows.
-
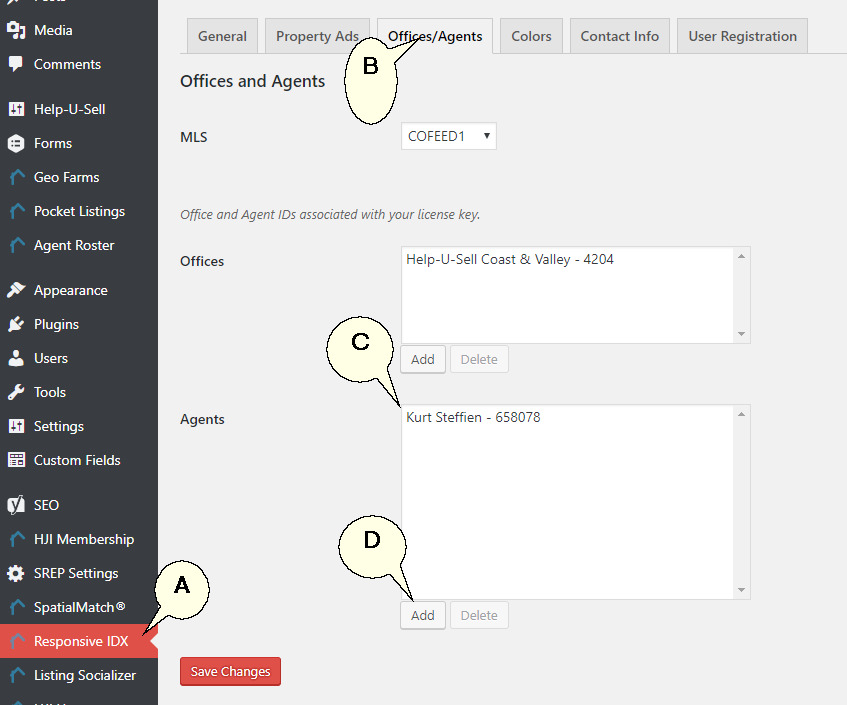
Make sure the Agent is mapped on the Responsive IDX plugin.
(A) Click on the 'Responsive IDX' menu item in the left menu navigation
(B) Click on the Office/Agents tab on the Top Navigation
(C) Confirm your agent names are listing in the 'Agents' Box. If not:
(D) Click on the 'Add' button below the 'Agents' box and lookup the Agent by searching for name and or last name.
If you cannot find the agent, please contact Help-U-Sell Support at support@helpusell.com to assist.
-
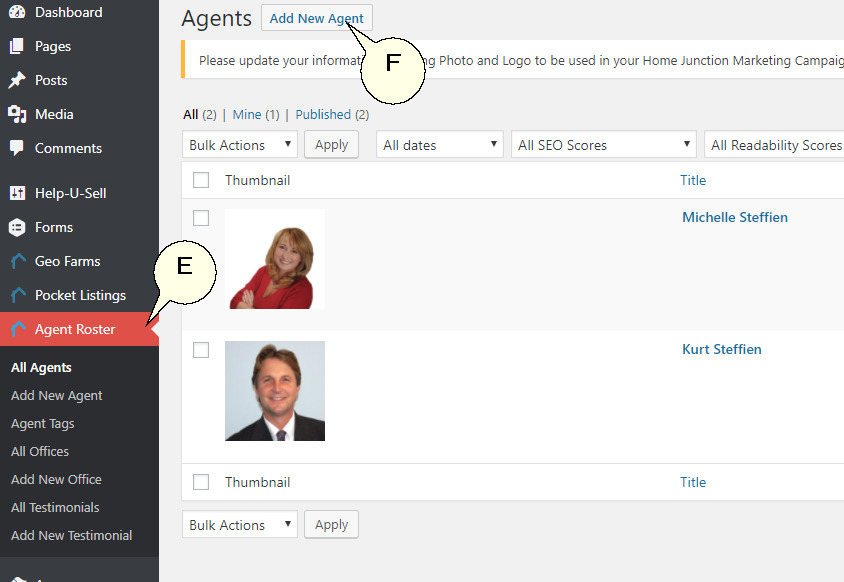
To add/edit an Agent in the roster, click on the Agent Roster menu item in the left Navigation panel (E).
-
To add an new agent, click on the Add New Agent button (F).
-
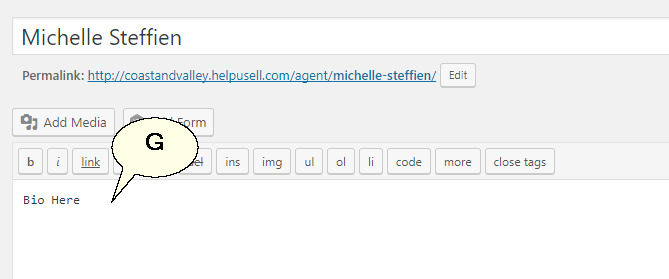
To edit an existing agent, hover over the agent in the list and click the edit link (G).

-
Complete the fields in the form, add a bio (G).
-
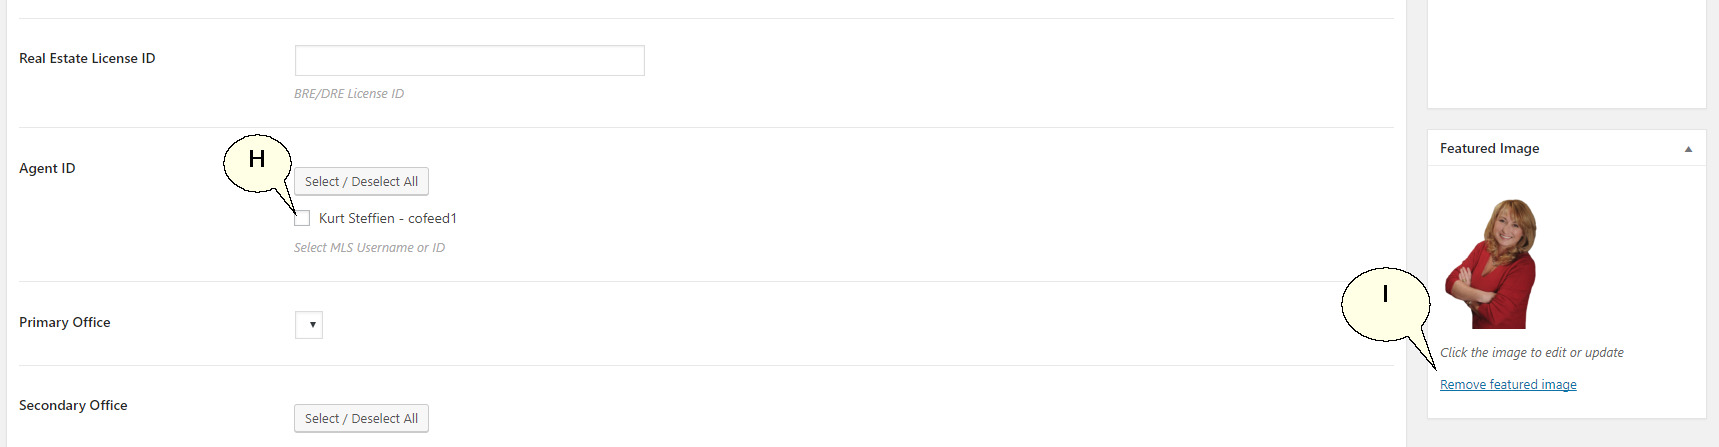
If this is a new agent, make sure the check the Agent ID box to ensure listings will be linked to this agent (H).
Note: If you do not see the Agent in this list, please see Step 1 Above
-
To update, add or change a profile picture, edit the Featured Image section to the right (I).
-
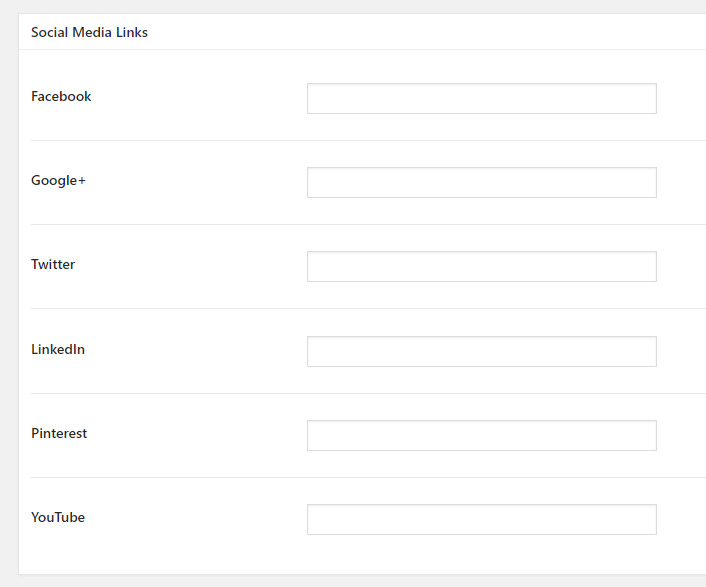
Complete social media fields, those with information completed will display on the agent profile with relevant icons.
-
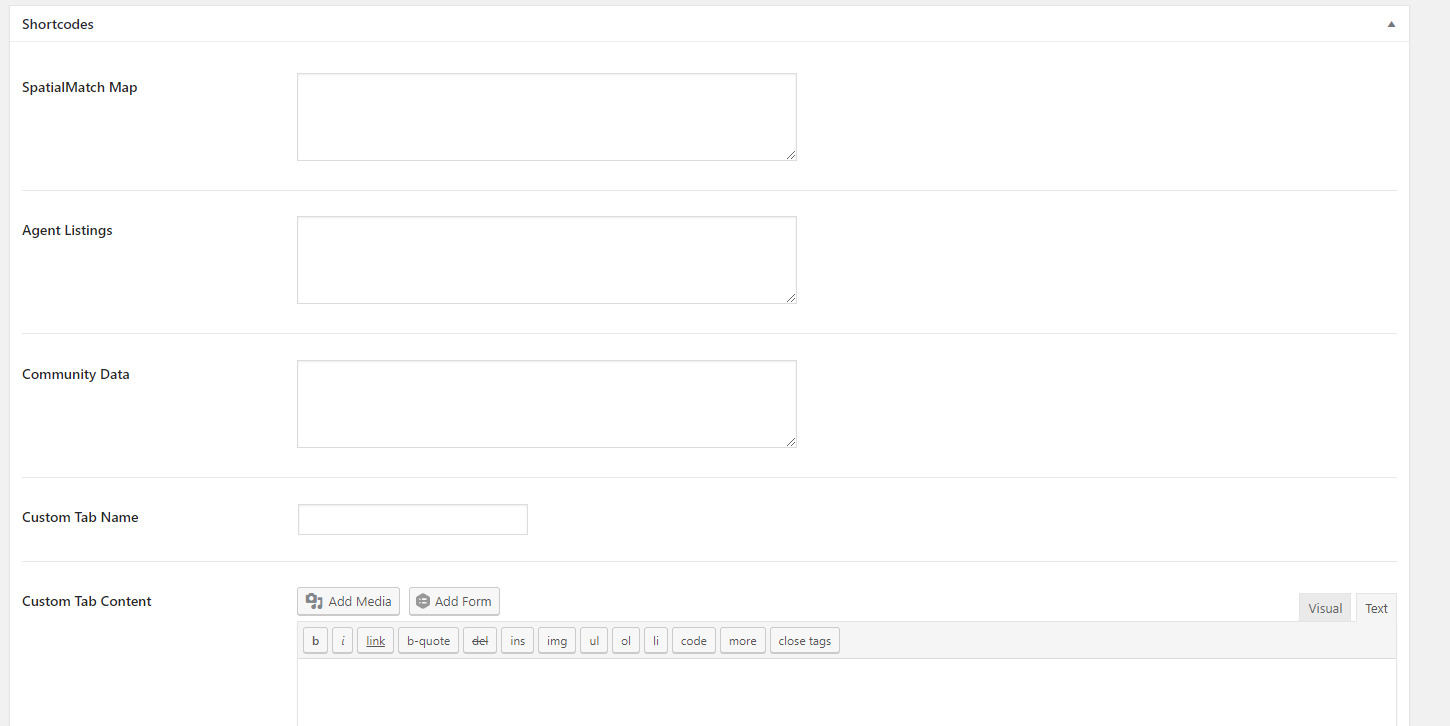
The last section allows you to add additional custom tabs with your own content or add your own listings, testimonials etc to your profile.
Note: Please contact Support for help on this item: