Add New Listing
Listings are imported from the MLS every day. If you are on a WordPress Template listings are updated every 2 hours. The OMS updates once a day. You do not have to add listings to the OMS if they are entered into the MLS.
To manually add a new listing in the OMS click on 'Add New Listing' sub-menu item under the 'Listings Module'
-
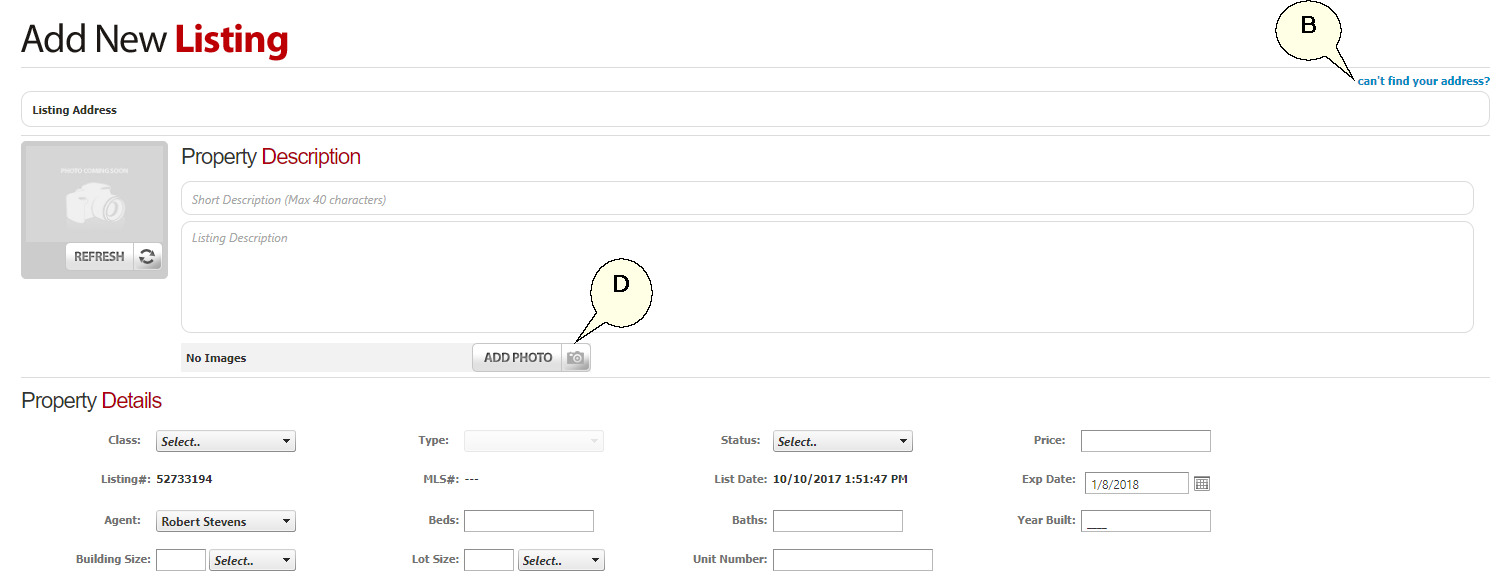
Complete the available fields. The field visible in the screen shot below are mandatory fields and must be completed.
-
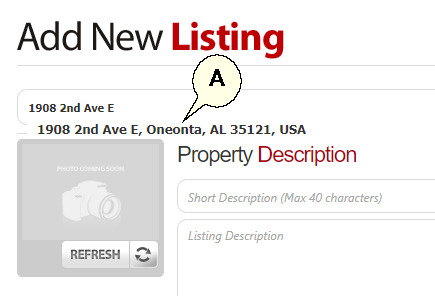
Address field - start typing the address, a recommendations list will filter below as you continue to type. Select the address from the drop box (A).
-
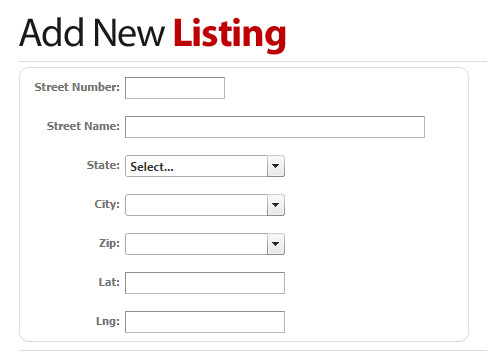
If the address do not populate below, click on the blue 'can't find your address' link to the right (B).
-
Complete the rest of the remaining fields.

-
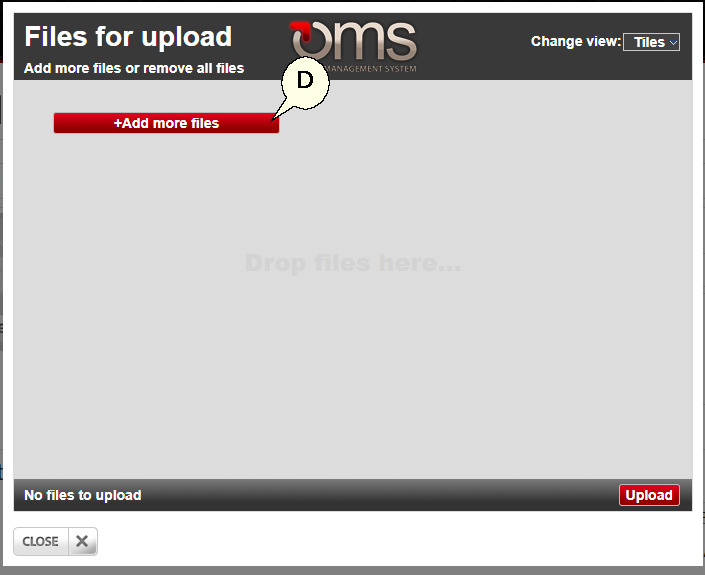
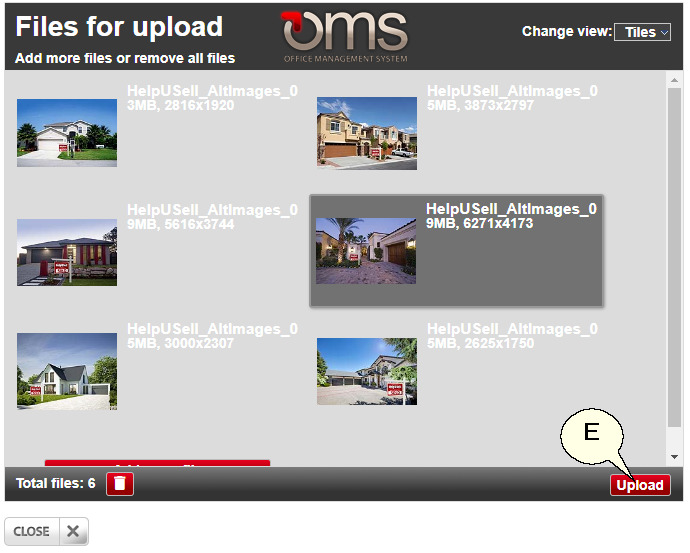
To upload Listing Photos click on the 'Add Photo' button. This will open a pop up window. Click the red 'Add More Files' button (D). You can add several images at once. Our server will re-size the images for the correct format to be used on the websites.
-
Once the photos are inserted in the upload tool, click the red 'Upload' button to the bottom right (E).
-
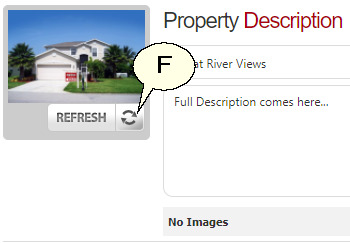
After the photos uploaded, hit the refresh button on the top left primary image box (F). This is the image that will be used for the primary photo. Click here to see how to reorder images and change the primary photo.
-
Towards the bottom you can add the Seller details which will link the seller to the listing. This will also create a seller contact in your contacts module. You can also opt this seller in for the CI program by checking the CI Yes box (G).

-
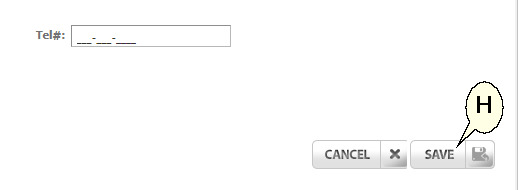
When you done, remember to hit the 'Save button' in the bottom right corner to save the listing (H).
Your listing will now display in the Listings Module under 'View My Listings'
Note: If you later load this listing in the MLS, the MLS import will import the listing again which will result in a duplicate listing.
To merge an original none-mls listings with the mls version see Merging Two Listings.